
You need the email address your masjid was registered with, and an inbox you can open on the same device. That is the whole list.
Ask for a sign-in link #
Open the admin and you are met by one box. Type your email and press Email me a sign-in link. There is no password field, because Sidrah has no passwords - nothing for anyone to guess, and nothing for you to lose when the volunteer who set it all up moves away.
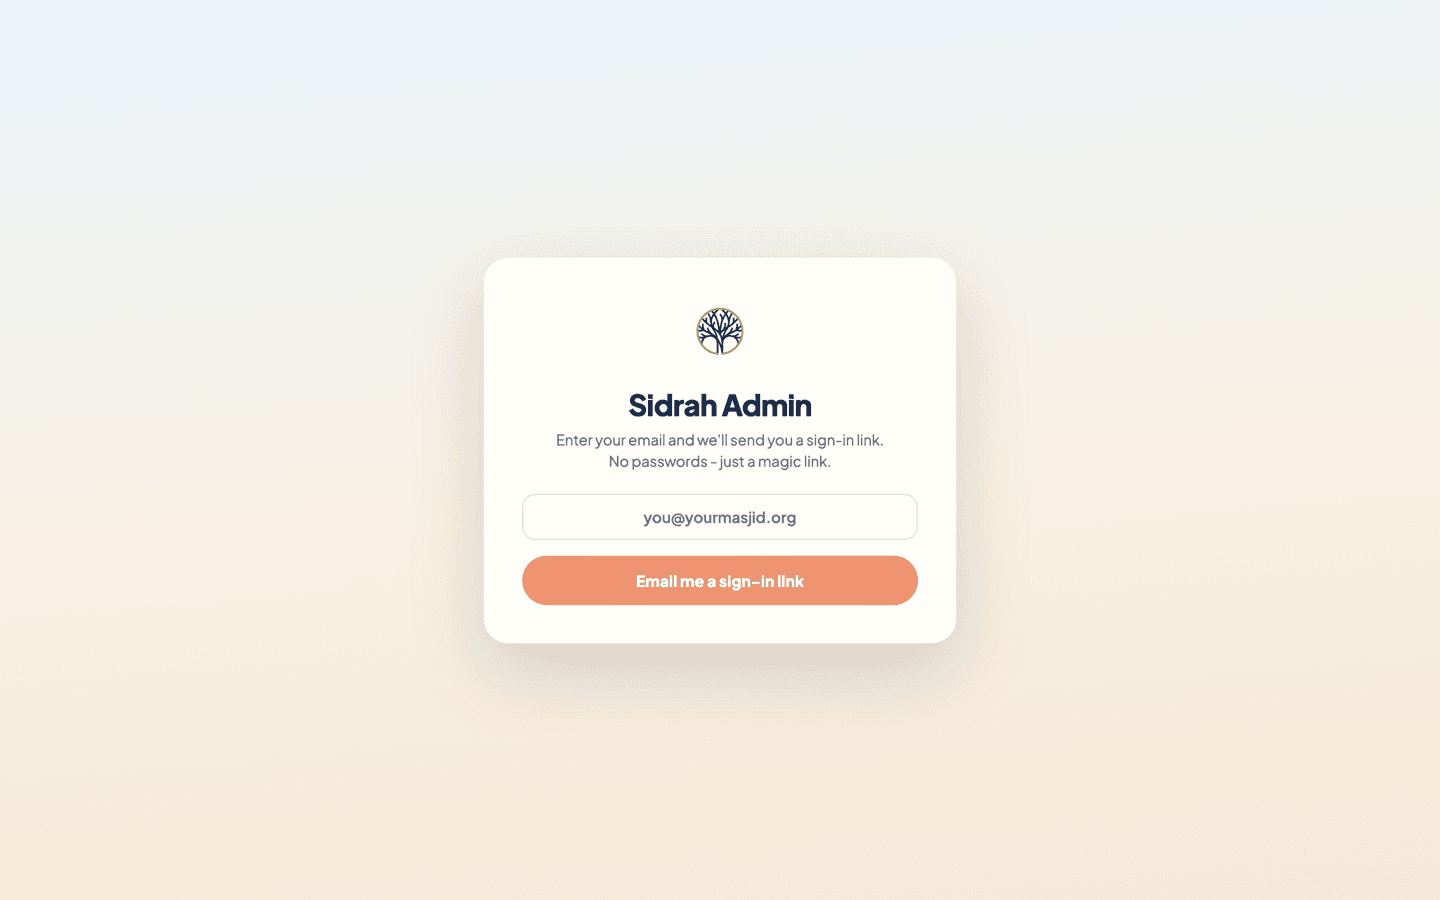
The link lands in your inbox within a moment. It works once and expires after fifteen minutes, so open it on the device you want to work on. If it has gone stale, come back here and ask for another.
For everyone's safety the screen says the same thing whether or not that address has access. So if no link arrives, it usually means we hold a different address for you - ask whoever registered the masjid to invite this one, or write to us.
Land on your dashboard #
Clicking the link signs you straight in and drops you on the dashboard. It is deliberately one glance: this month's giving goal, how many people follow you in the app, whether your screens are live or still unpaired, today's five salaah times with the next salaah picked out in coral, and the announcements currently running.
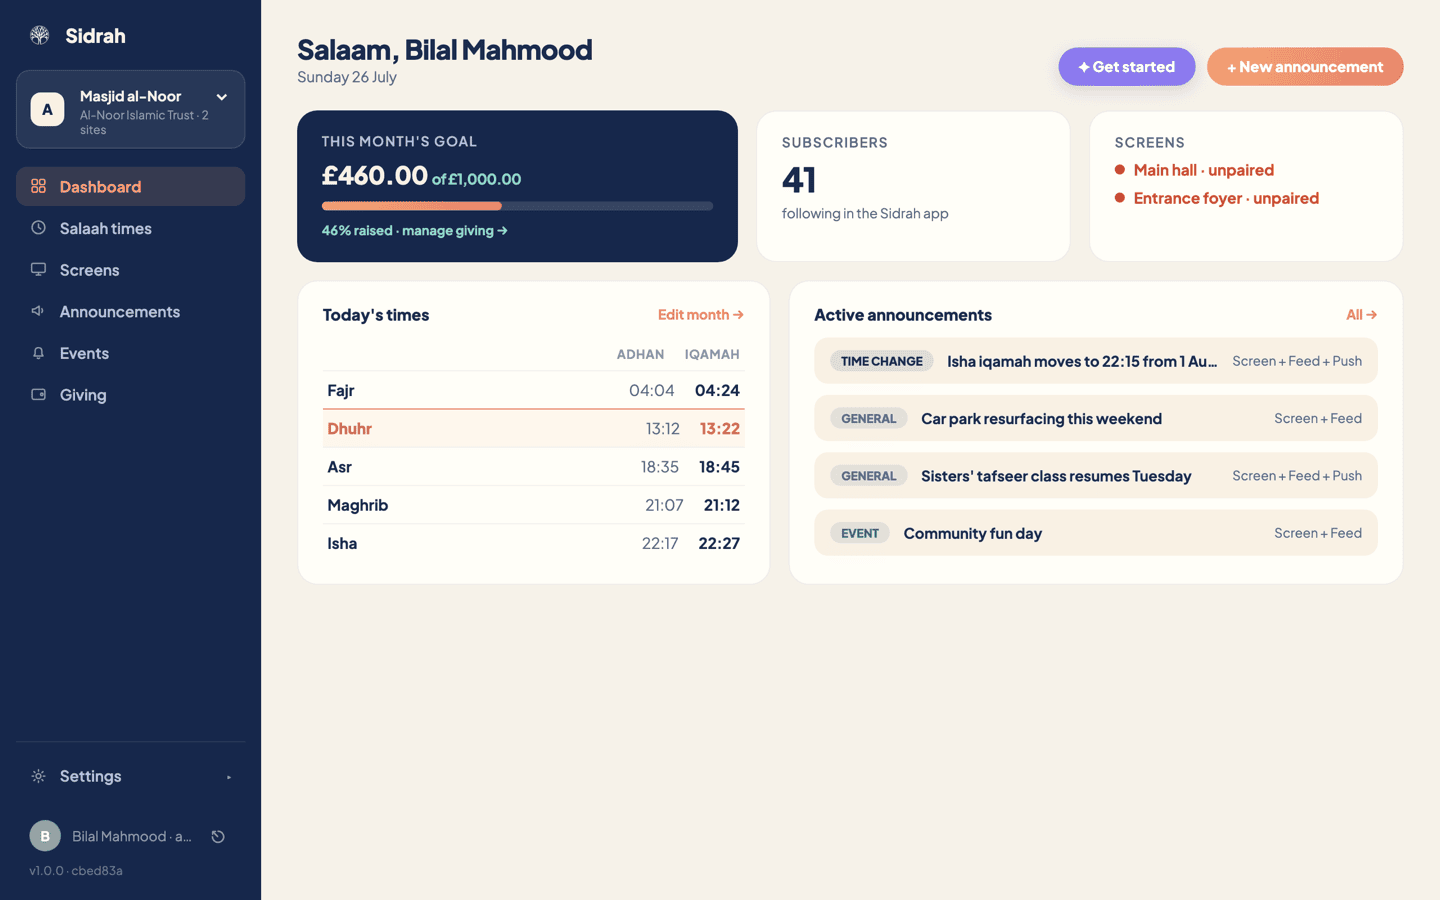
You stay signed in on this device for about a month, so day to day you will just open the admin and be there.
Learn the navy rail down the left #
Everything lives in that dark strip, and it never moves. From the top:
- The masjid switcher - the box under the logo, showing the masjid you are working on and your organisation beneath it. If your trust runs more than one site it also says how many, and clicking it swaps you between them. Everything you do afterwards applies to the masjid named here, so glance at it before you edit times.
- Dashboard, Salaah times, Screens, Announcements, Events - the day-to-day work. Giving appears too if you look after the money for your organisation.
- Settings, anchored near the bottom, opens to reveal Organisation, Audit log, Users and Facilities. It is the quieter half of Sidrah: who is on your team, what your listing says, and a record of who changed what.
- Your name and role at the very bottom, with the sign-out button beside it.
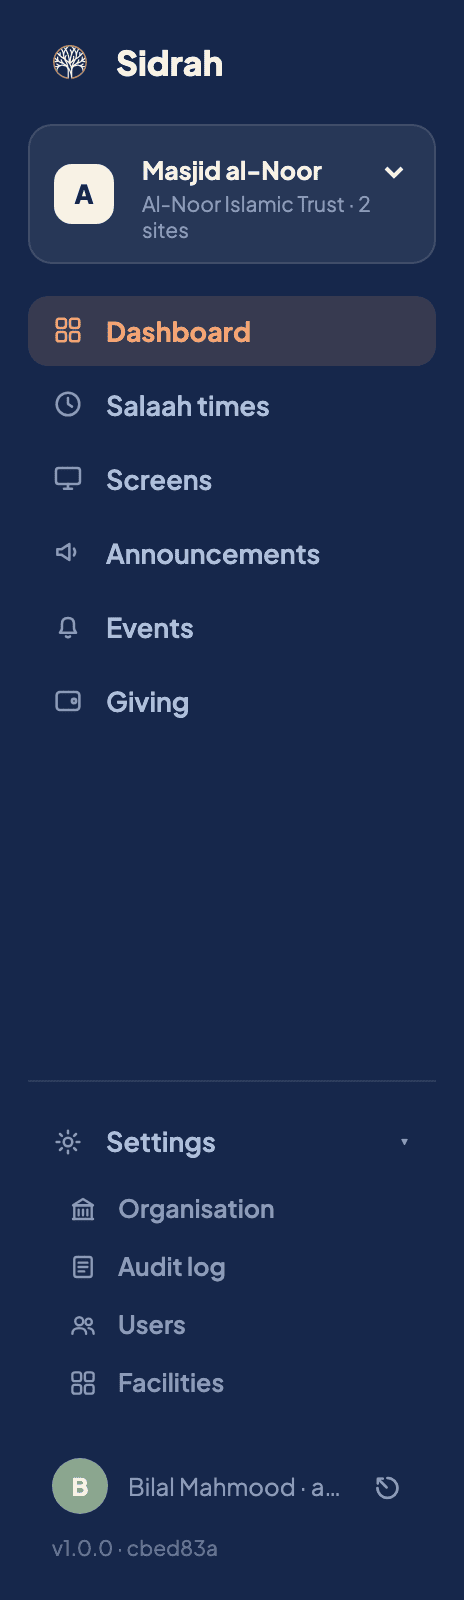
Some sections grow a second level once you are inside them. Open Salaah times and Eid and Ramadan appear beneath it; open Screens and you get Media and Theme. They are hidden the rest of the time so the menu stays short.
That faint v1.0.0 line in the bottom corner is the version of the admin you are looking at, followed by a short code our engineers use. Every Help Centre article carries a matching badge near its title saying which version it was checked against. If the two do not agree and a screenshot here looks unfamiliar, that is why - do tell us, so we can refresh the guide.
Work through Get started #
Press Get started at the top right of the dashboard. It opens a checklist of seven things that turn an empty listing into a masjid your community can actually use: your details, your salaah times, your facilities, a screen, your team, a first announcement, and connecting your charity's Stripe if you handle giving.
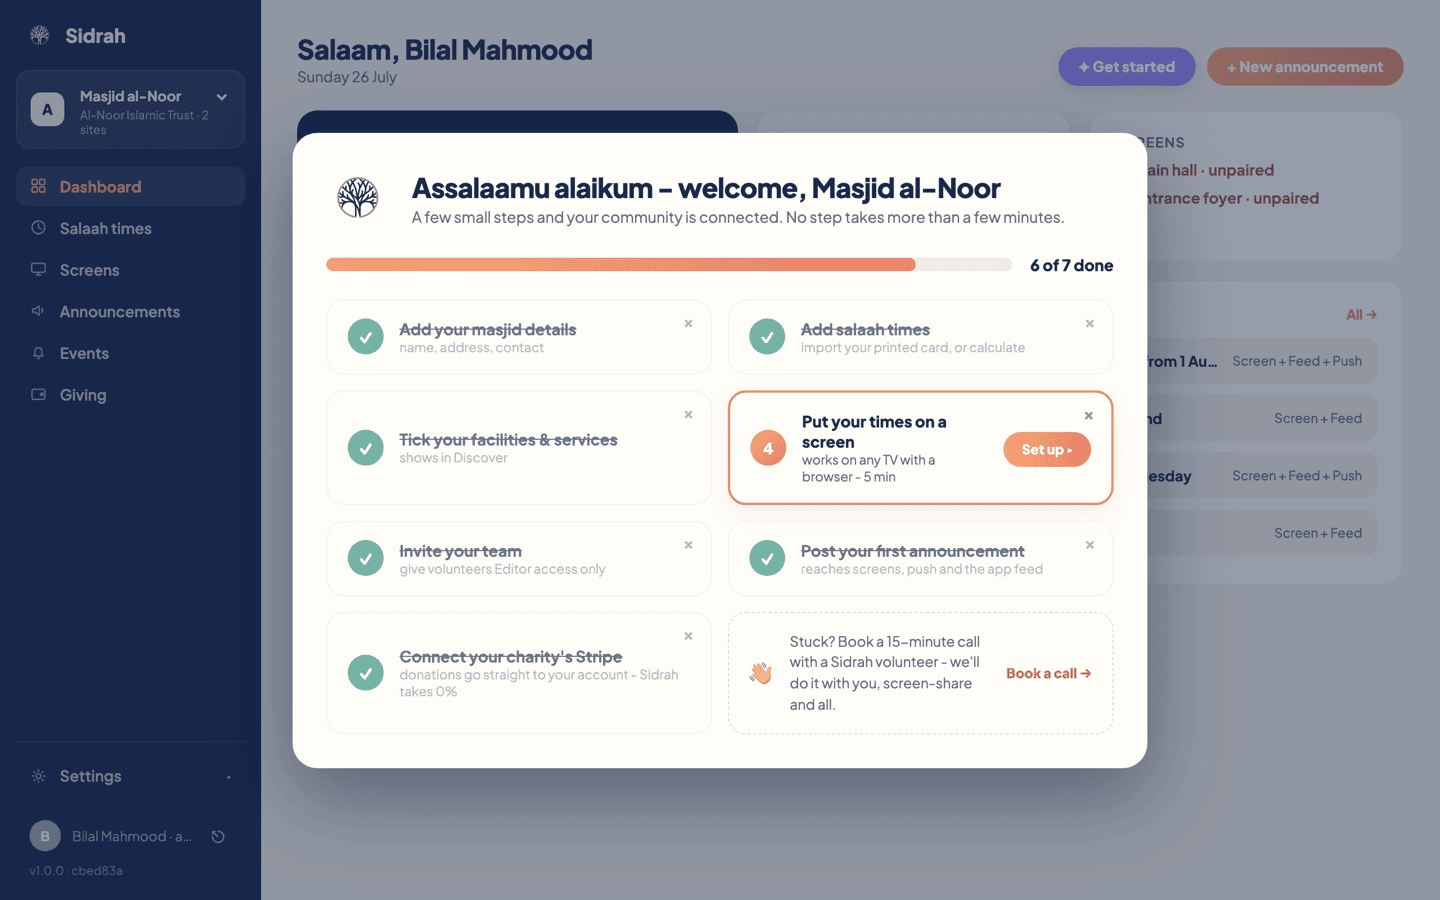
This is not a to-do list you keep updated by hand. Each step reads your masjid's real state, so it ticks itself the moment you have genuinely done it and the counter at the top moves with you. Steps that do not apply can be dismissed with the small × in the corner, and that is remembered for this masjid only.
If you would rather not do it alone, the card in the corner books a fifteen-minute call and one of us will sit with you while you set it up.
Do one real thing before you close the tab #
The best first job is your salaah times, because everything else hangs off them - the app, the wall screen and the reminders all read that one timetable. Open Salaah times in the menu, and see Set your times for what to do there.
After that, invite the people who will help you run it so you are not the only key holder. That is Users and roles, under Settings.